Easter can feel very … plastic – all the plastic eggs, plastic baskets, polyester bunnies – it can be a little too much sometimes. So if you like eco-friendly decoration you might like the idea of a completely natural way of dying your Easter eggs. Meet the natural dye: onion! It’s a traditional dying technique in the Czech Republic, where I’m from, and we have been dying eggs this way ever since I can remember. Not only is it safe but it’s also super easy – even toddlers can help. Three easy steps – that’s it!
{what will I need}
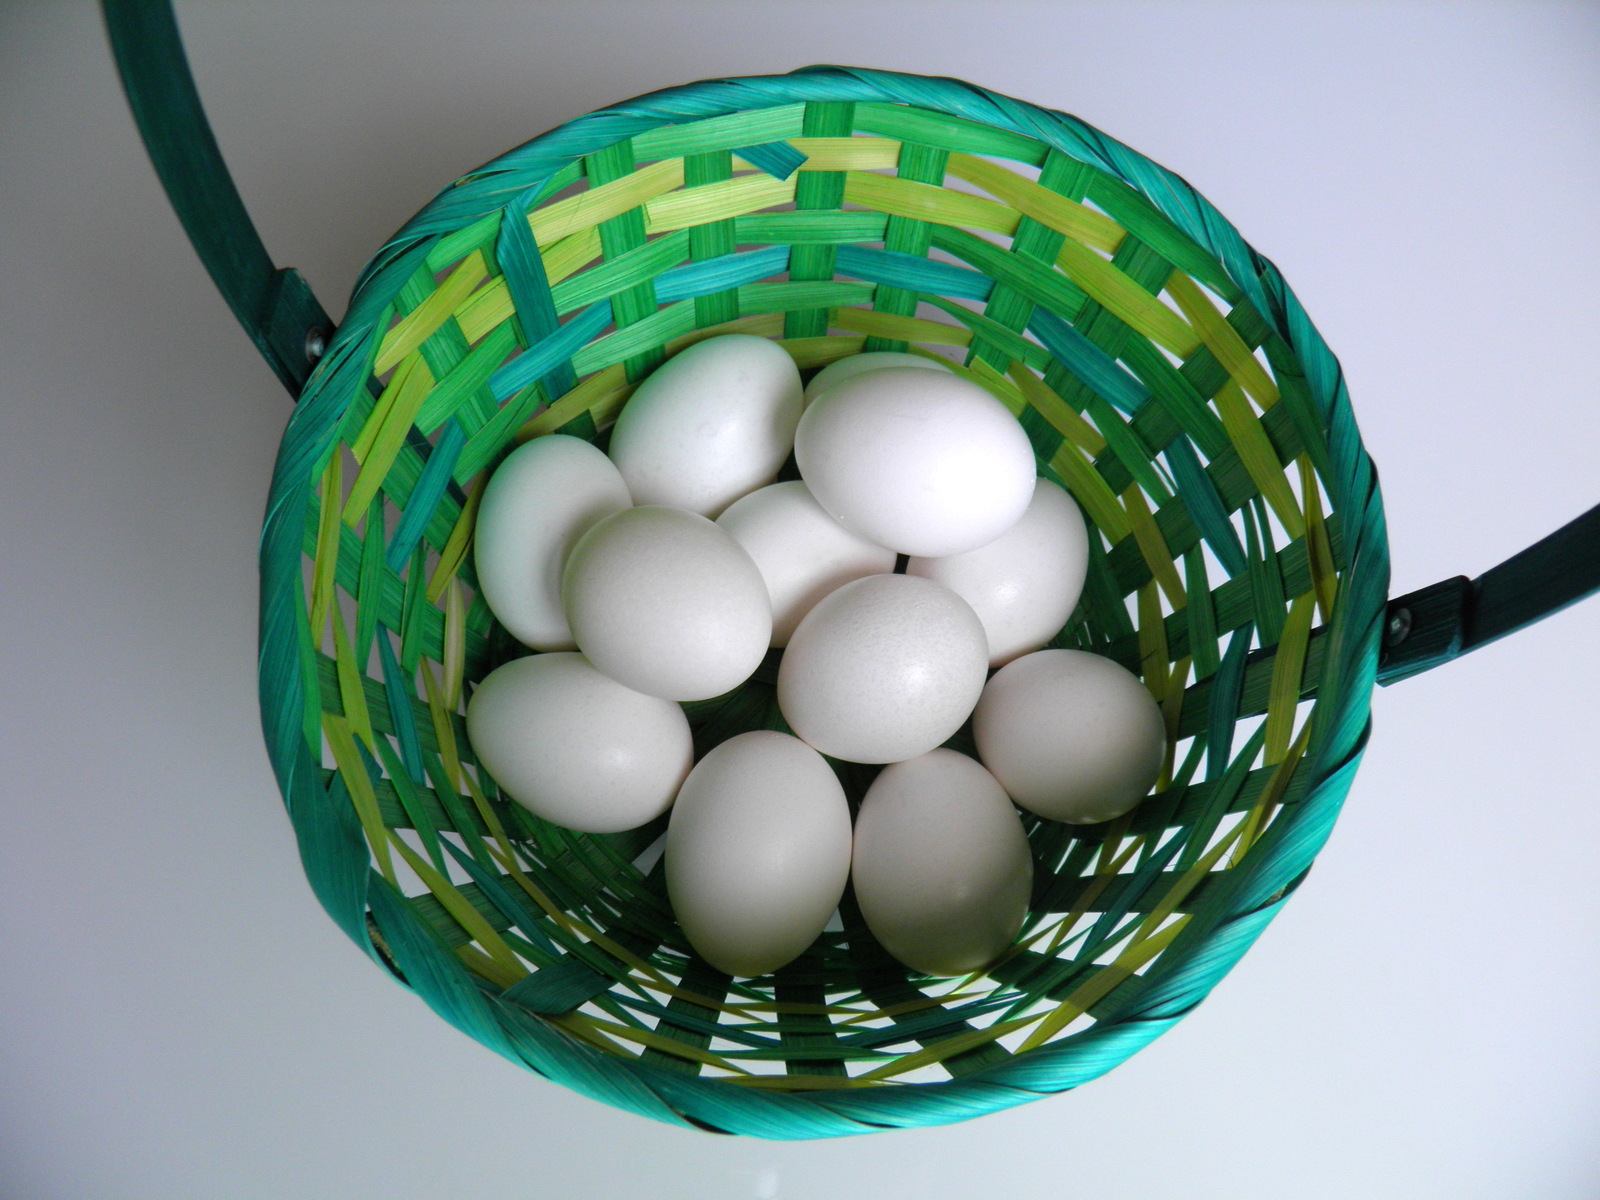
Eggs, brown/red onions, water, and a pot.
{step 1}
Peel the onions. And feel free to let the kids help – knives are not necessary, they can use their fingers to peel them. All you need are the dry layers, not the actual onion you would normally use for cooking. Just the stuff you would normally throw in the trash.
{step 2}
Put eggs and the onion peels into a smaller pot and add water – make sure the eggs are completely under water.
{step 3}
Boil everything for about 10-15 minutes. Then remove eggs and let them dry (you might want to keep the kids at a safe distance as the water is very hot).
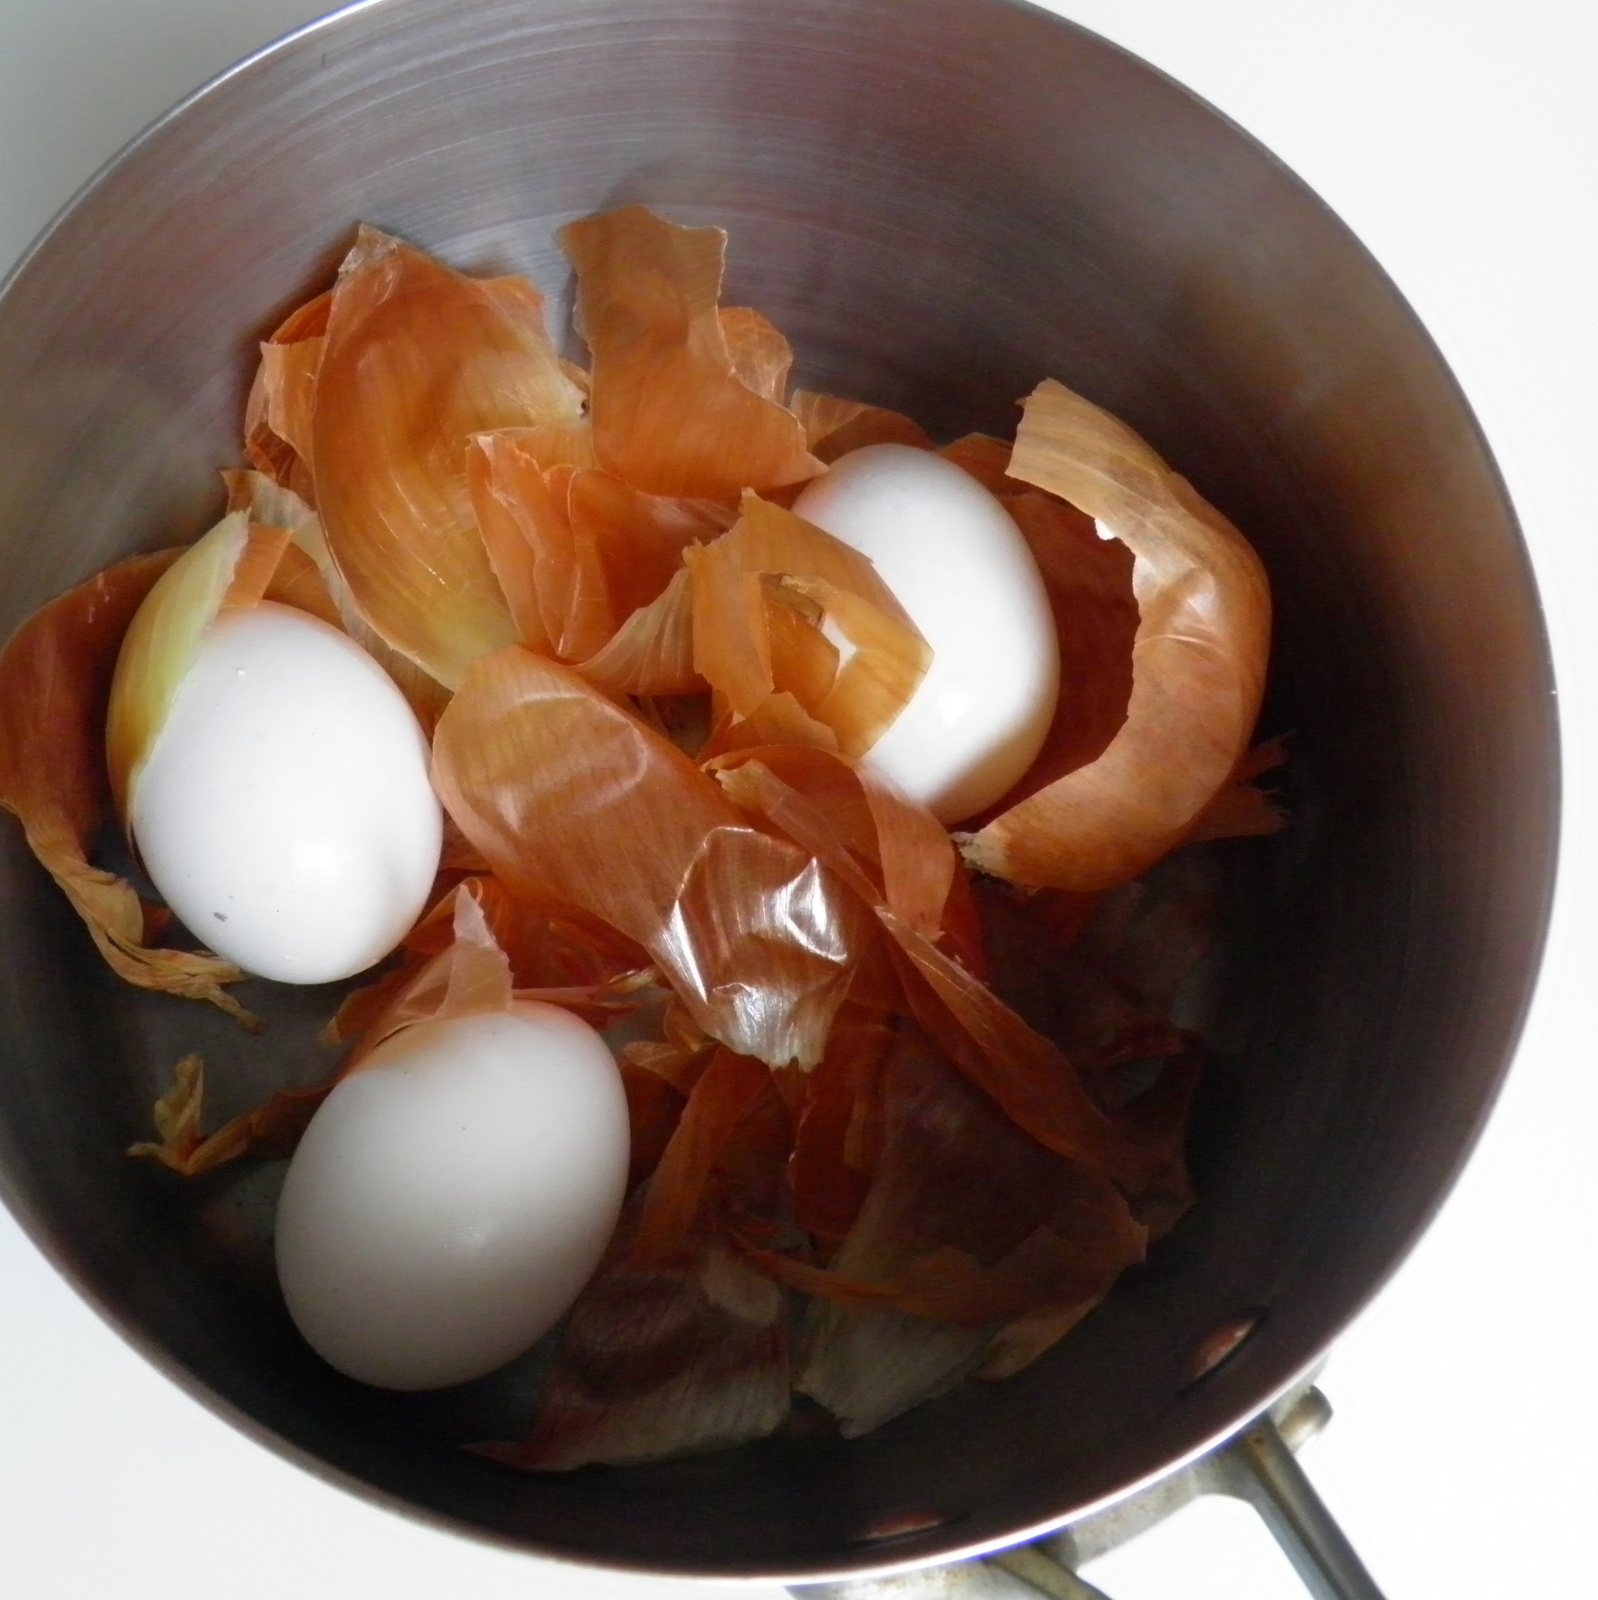
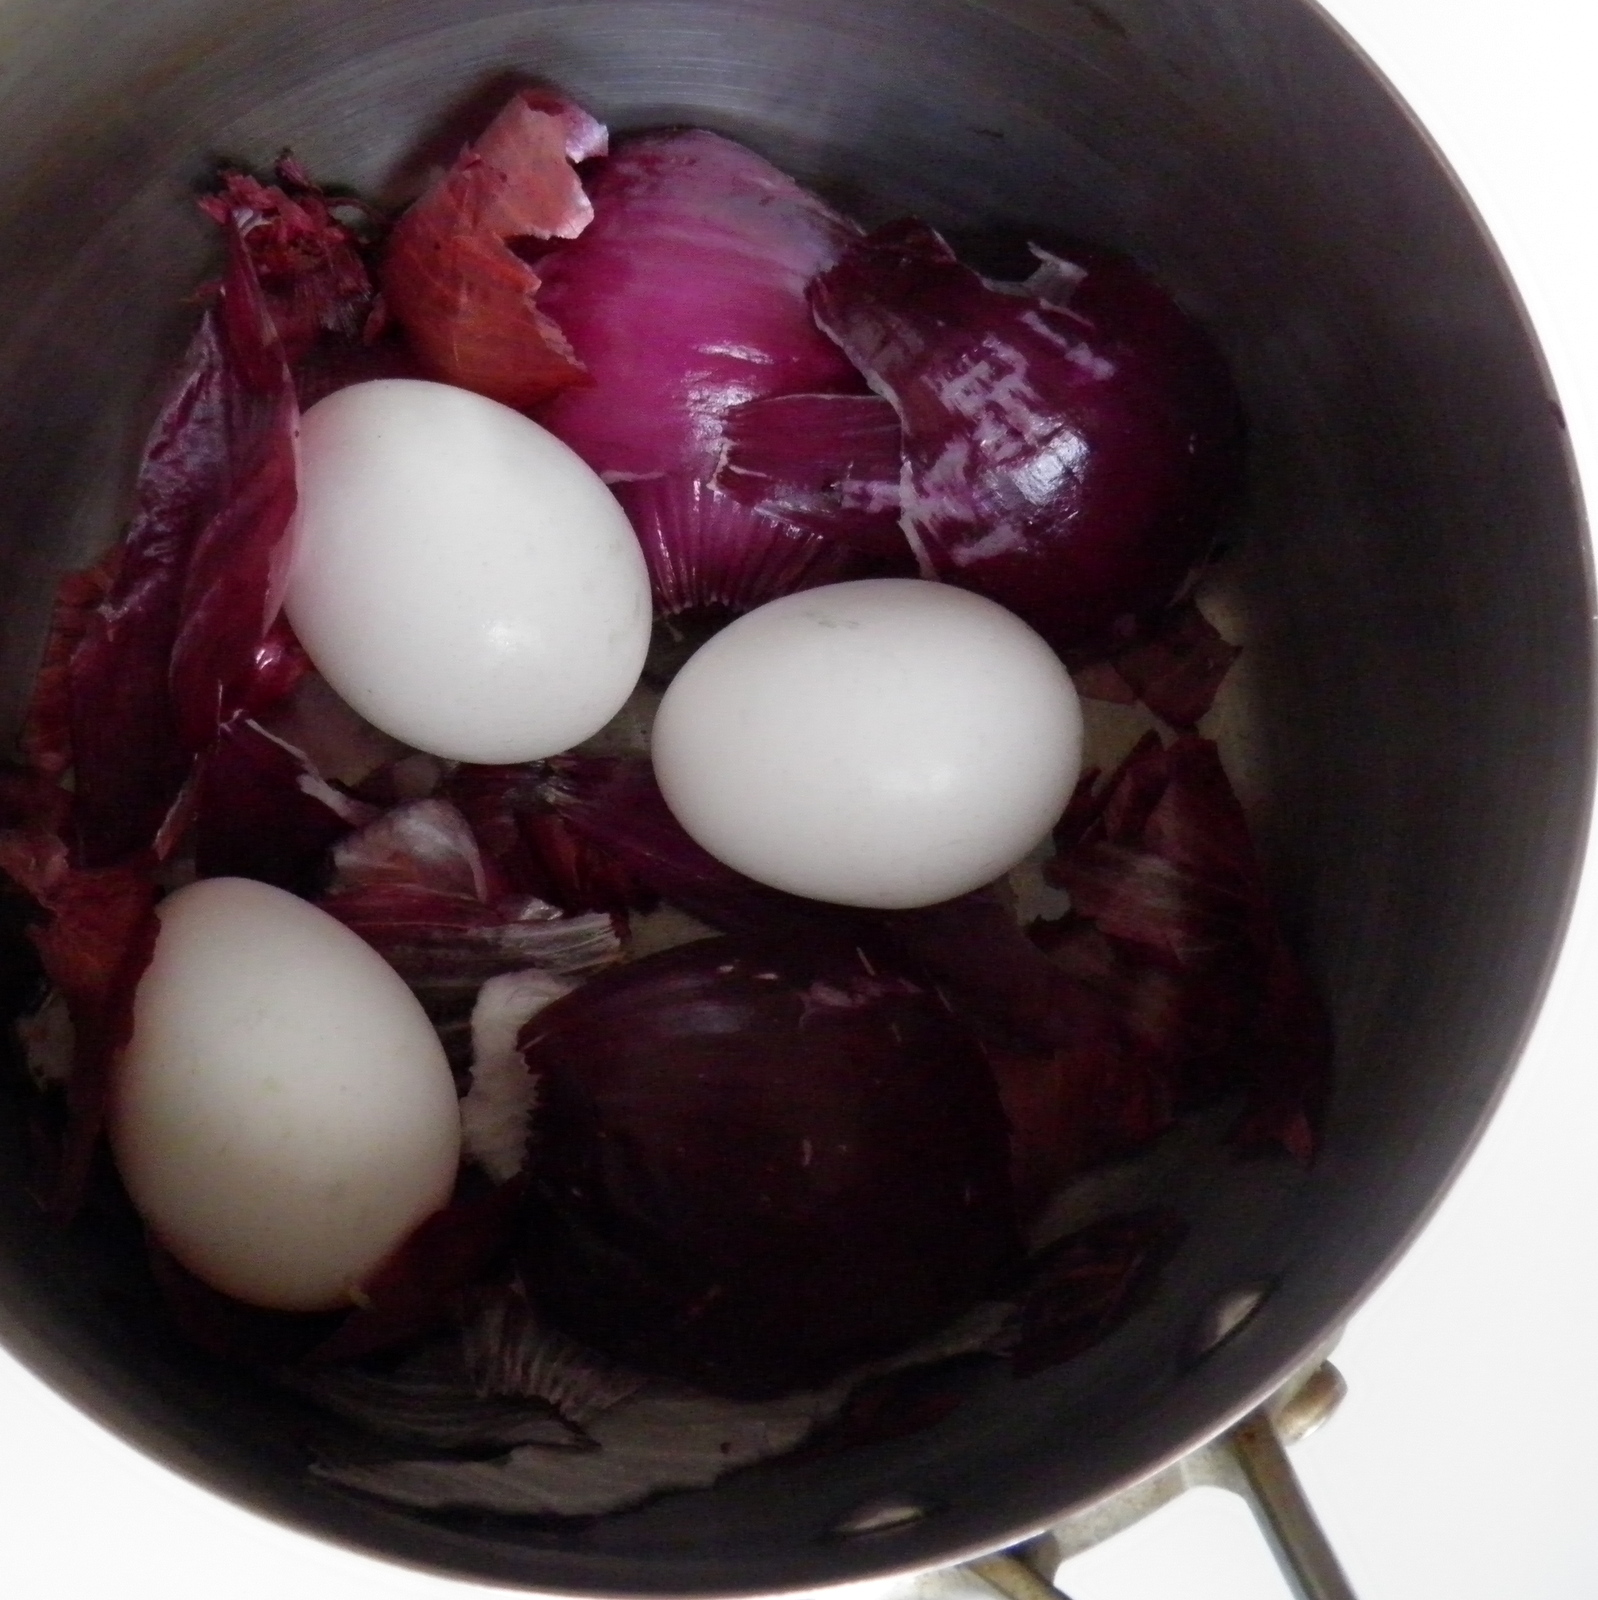
This is what it looks like in the process of making…
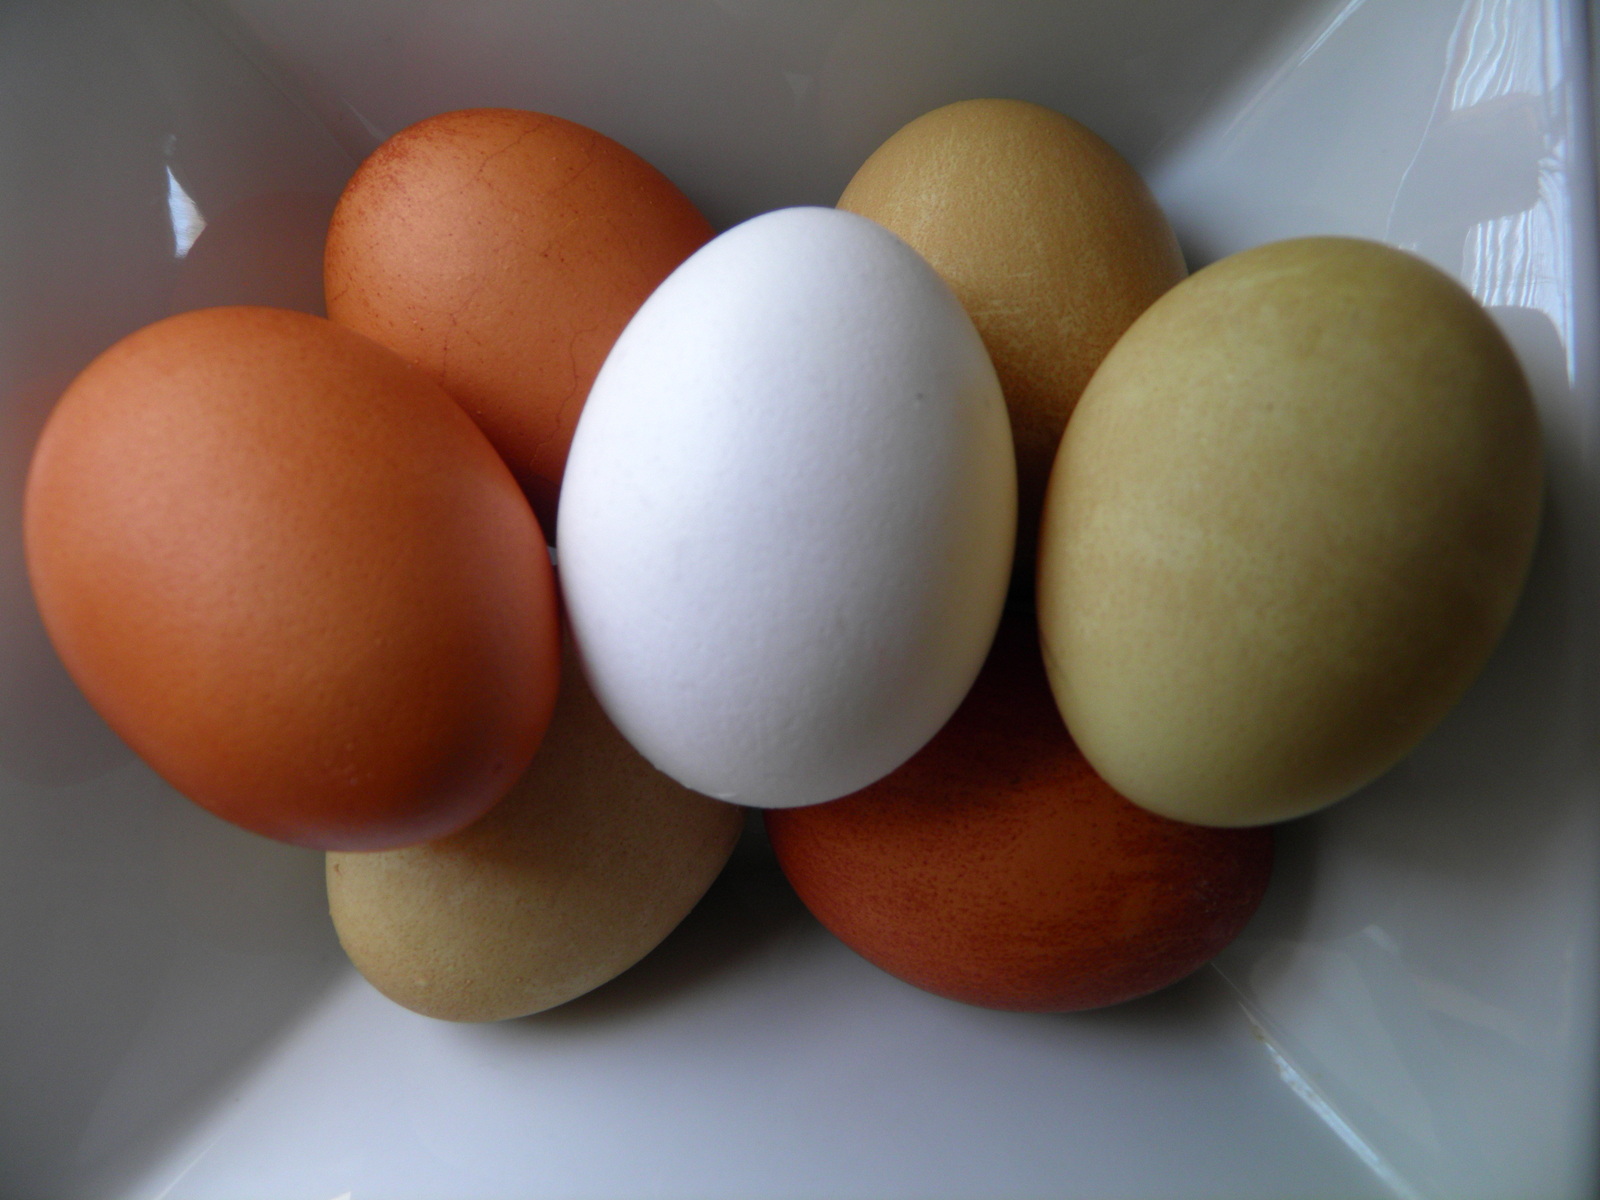
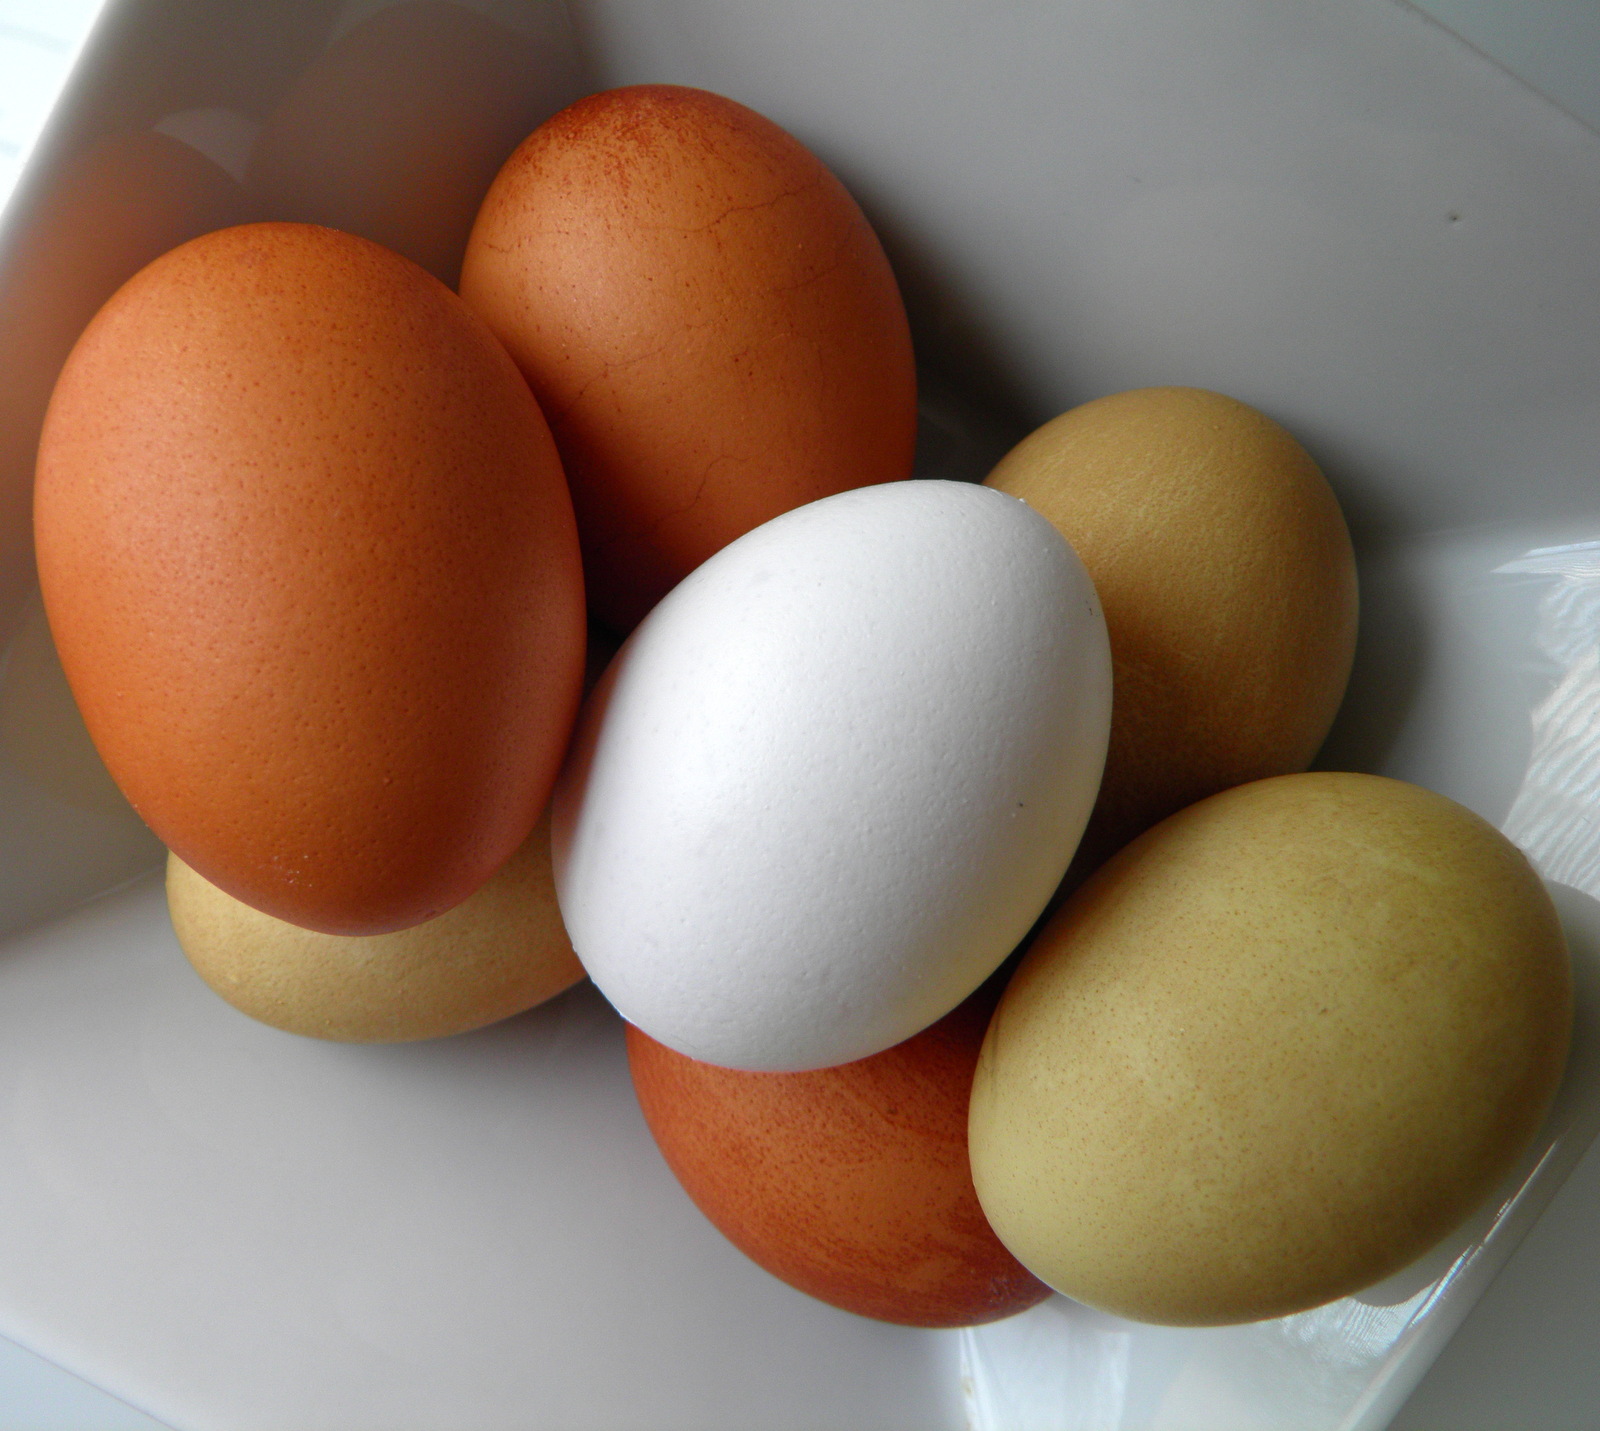
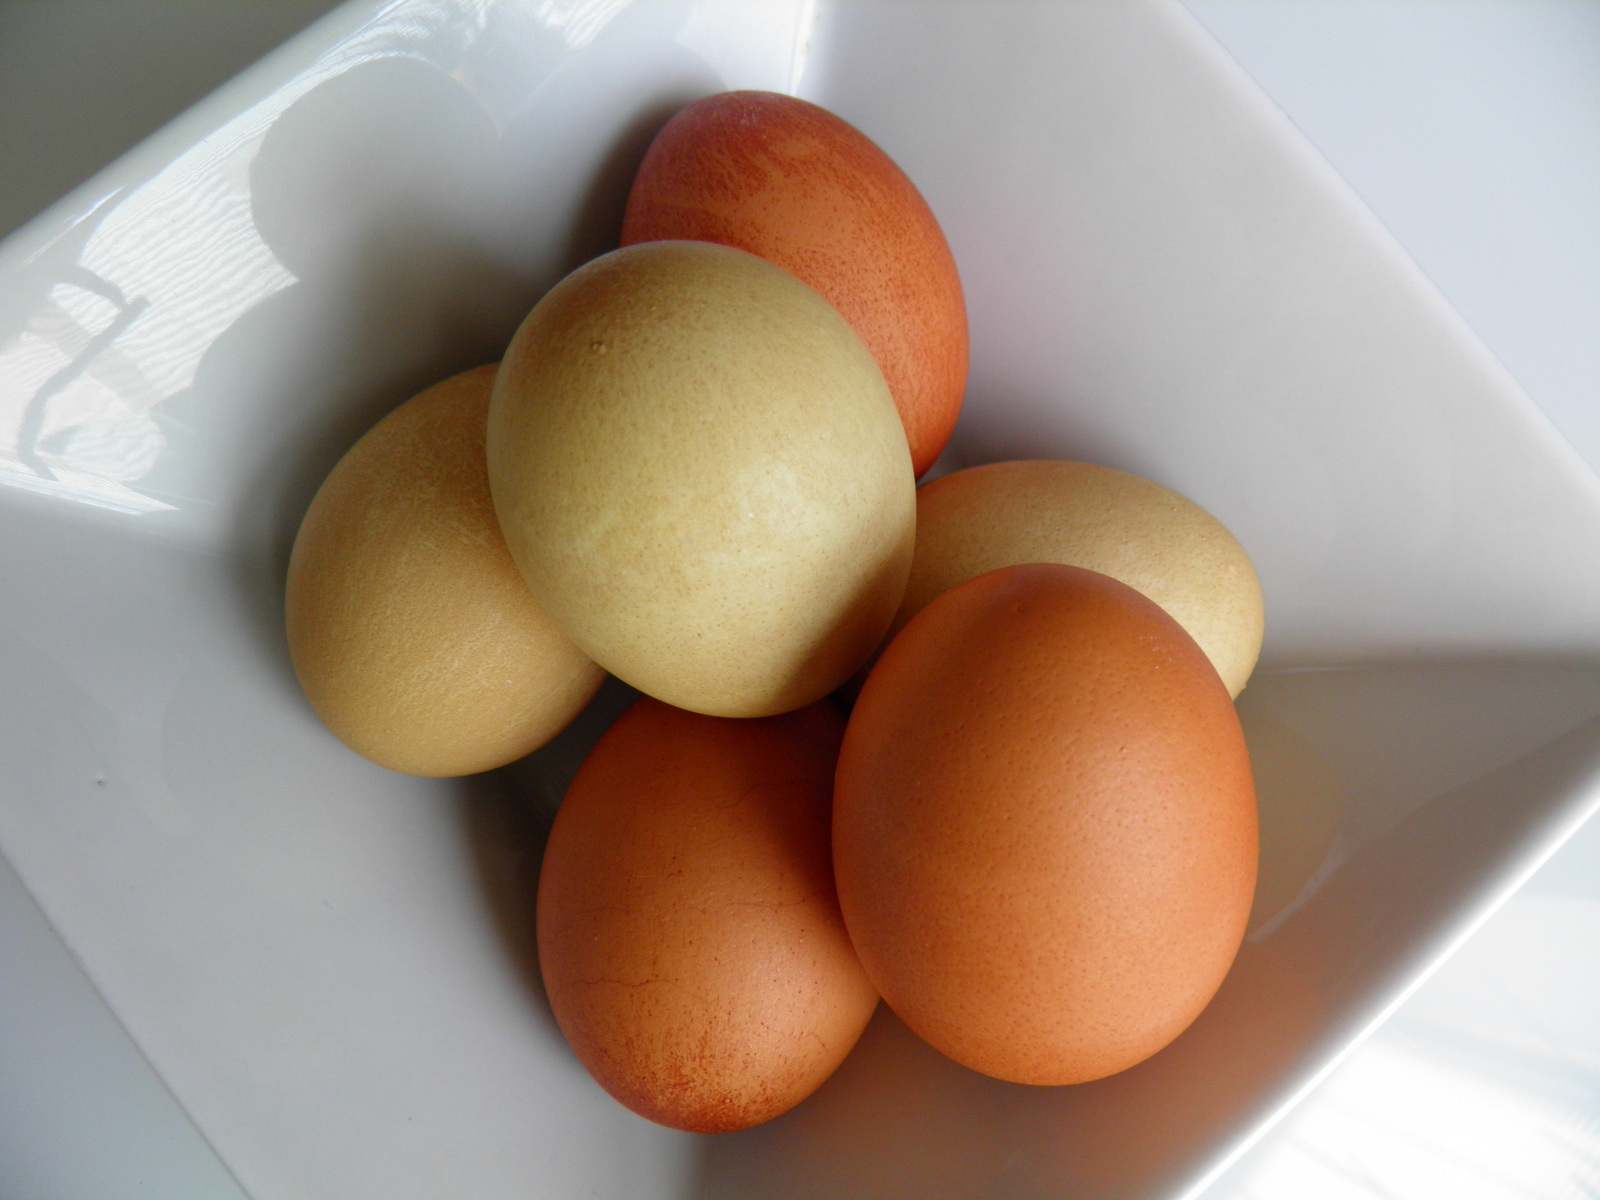
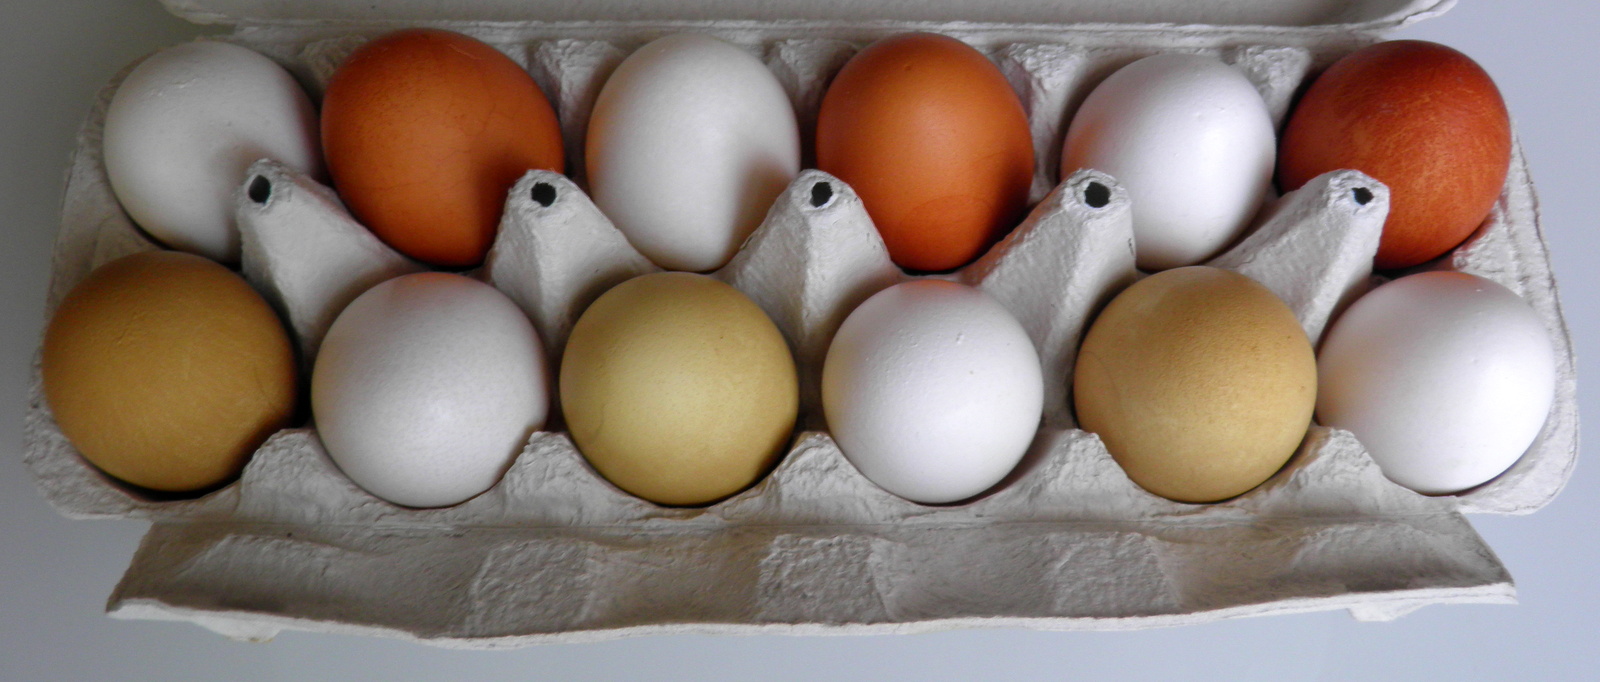
I used white eggs so that you can see the difference between {before} and {after} better.
I used peels from 2 brown onions to dye 3 eggs…
… and then peels from 2 red onions to dye another 3 eggs.
As you can see below red onions are not that “powerful” – the eggs didn’t turn red as one would expect but rather yellowish. So if you want your Ester eggs to be more orange or reddish then go for brown onions. The more onion peels you use, the darker the eggs will be turn out.
Brown onion peels = darker eggs (orange/reddish)
Red onion peels = lighter eggs (yellowish)